Robot Simulator
Status: successfully used for Eurobot cup.
The robot simulator is useful to test programs before the robot is integrated.
Its main features are:
- use the code running on the real robot;
- interconnect several programs (from several boards and additional simulation tools);
- KISS: Keep It Simple Stupid: we like simplicity and ease of development;
- extensible: it is easy to make a new program based on the simulator to test a specific part;
- reusable: for example, the interface can be reused to make a click-and-go robot remote control.
It is based on very low-level stubs in board programs, an interconnection bus and a set of python modules to build interfaces and environment simulation.
Quick look
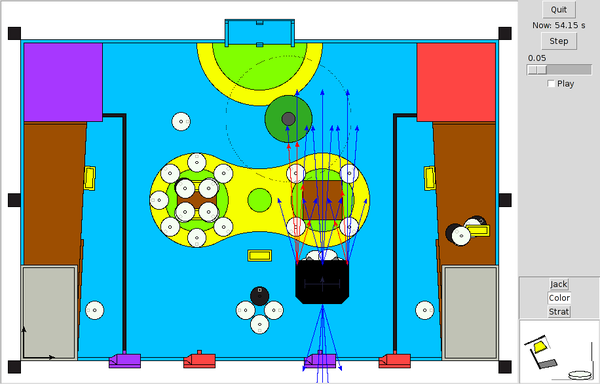
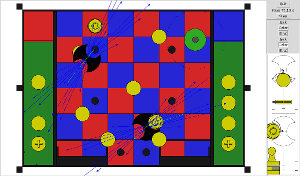
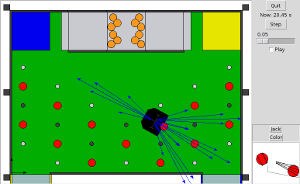
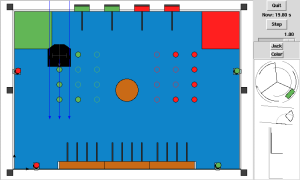
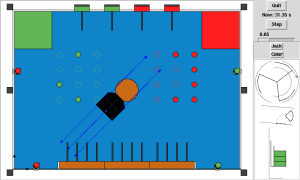
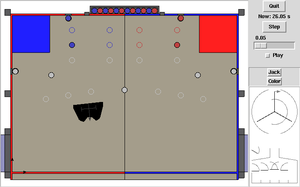
Here is the simulator interface:
The left frame shows the playground with the robot.
The right frame includes time control, sensors and internal actuators not shown on the left frame.
How does it work?
On the real robot, we use AVR microcontrollers programmed using the C language. The compiler used is the same that you can use to compile programs for your computer. To simulate the AVR code execution, AVR programs are compiled for the host computer, and executed as regular programs.
But wait! AVR microcontrollers have special devices which are not accessible for regular programs, like communication buses, motor control, sensors and so on... To handle theses, every AVR modules (kind of small libraries) can be compiled for AVR or host computer. For example, the serial port module will use the hardware UART to exchange data when compiled for AVR, and the standard input/output when compiled for host computer. This permits to use the same program on both systems, only modules code will differ.
Additionally, specific code can be added to handle robot specific sensors or actuators. For example, a sensor which looks at playground color must be replaced with code to compute playground color based on current simulated robot position.
To ease simulated code implementation, a message exchange library is used. In a real world, the sensor which looks at the playground do not known the robot position. In the simulated world, the simulated code needs this information and can query it using messages exchange between the different processes.
On top of this, there is an interface which use the message exchange library to query information about the running processes (like the robot position, the actuators events...) or to provide human interaction via the sensors (start-up jack, collision with the other robot...). This interface is not mandatory to run the simulator, so autonomous tests can be possible.
Try it yourself
Prerequisites
You need:
- a complete development chain (gcc, make...),
- python, python-tk,
- python-numpy,
- python-serial,
- yapps2,
- the APBTeam repository,
- please notify us if something is missing in this list.
Build
We will use three AVR programs, io-hub, asserv and mimot. Here $base is the APBTeam repository base. To compile all of them:
cd $base
make host
If you do not provide the host parameter, both host and AVR binaries will be built. This will fail unless you have avr-gcc installed.
Run the simulator
To run python scripts, you need to define PYTHONPATH:
export PYTHONPATH=$base/host:$base/digital/asserv/tools:$base/digital/mimot/tools:$base/digital/io/tools:$base/digital/io-hub/tools:$base/host
You could start programs one by one, but there is a python script to do this automatically:
cd $base/digital/ai/tools
python test_simu.py -r robospierre
Once started, press the play button, then insert the start jack (click Jack), and pull the jack (click Jack again). Enjoy!
Note: the first jack insertion will position the robot on the table, you have to insert and pull it twice to start program.
You can place an obstacle on the playground using the middle button.
